The SD card is the ‘hard drive’ of your Raspberry. You need to fill the SD card with its operating system. This usually comes in the form of an .img file – an image (a “clone”) of a hard drive that contains the operating system. Because it needs to be bootable (the right bits need to be at the right location on the card, so that the Raspberry can start from it), you can’t just copy things over the usual way. But luckily there are several ways to clone the image onto the card.
You usually need a card at least 4GB in size.
There are many Mac apps that do the hard work for you. balenaEtcher seems to work well, explains everything step-by-step, exists for Mac, Linux and Windows, and seems to be the easiest to handle for people who are new to this.
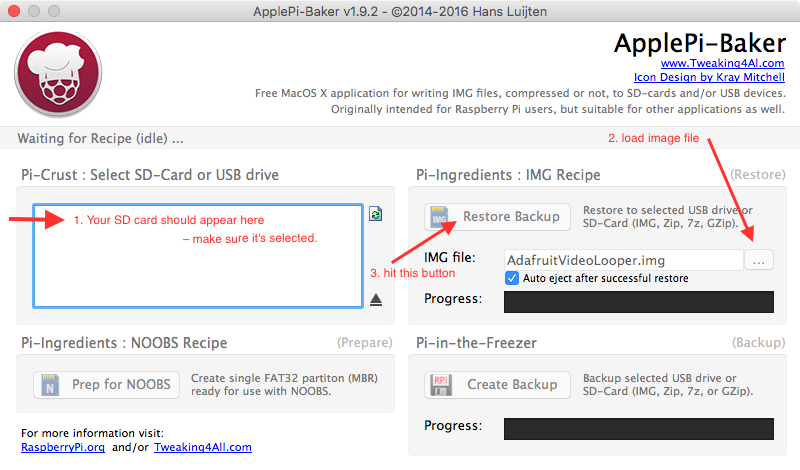
Personally, I use ApplePi-Baker for Mac, so here are instructions for that:
The app also supports the reverse process, so you could make a backup of a finished project. Great if you need to deploy several Raspberries with an identical setup.